Knowing how to build a website is no longer a bonus skill, it is a necessity. WordPress is one of the most popular website development platforms used worldwide. Around 45.8% of all websites are made on WordPress. It has a simple learning curve, which may be why smaller companies are choosing WordPress with an in-house developer. If you are starting on your WordPress journey, fear not, in this article we will teach you how to build a WordPress website in 9 easy steps.
9 Steps to Building The Perfect WordPress Website
It may seem daunting to work on a new WordPress website but with these 9 easy steps, you can create a checklist for the ultimate dream website on your side.
1. Web Hosting and Domain Name

What is a brand without a brand name? The domain name should be your brand name. Hence if you are starting a brand by building a website, you should start by picking out a name and checking if is is available. After all, the last thing you’d want to do is create a logo for a brand or a domain name that’s already taken!
There are many websites available for checking and purchasing domain names – GoDaddy, and Google Domains are amongst the most popular ones.
A good rule of thumb would be to pick a name that is:
- Easy to remember
- Short
- Is available in .com (although other options are also becoming competitive)
- Can be replicated (either into a logo, or for other brand collaterals)
Once you have a name, you should purchase the domain before anyone else. Domains are selling out as we speak, so you must act fast.
Domains and hosting come hand in hand. You can either go ahead with a web hosting service that provides free domains or you can purchase a domain and manually connect it with a web hosting service.
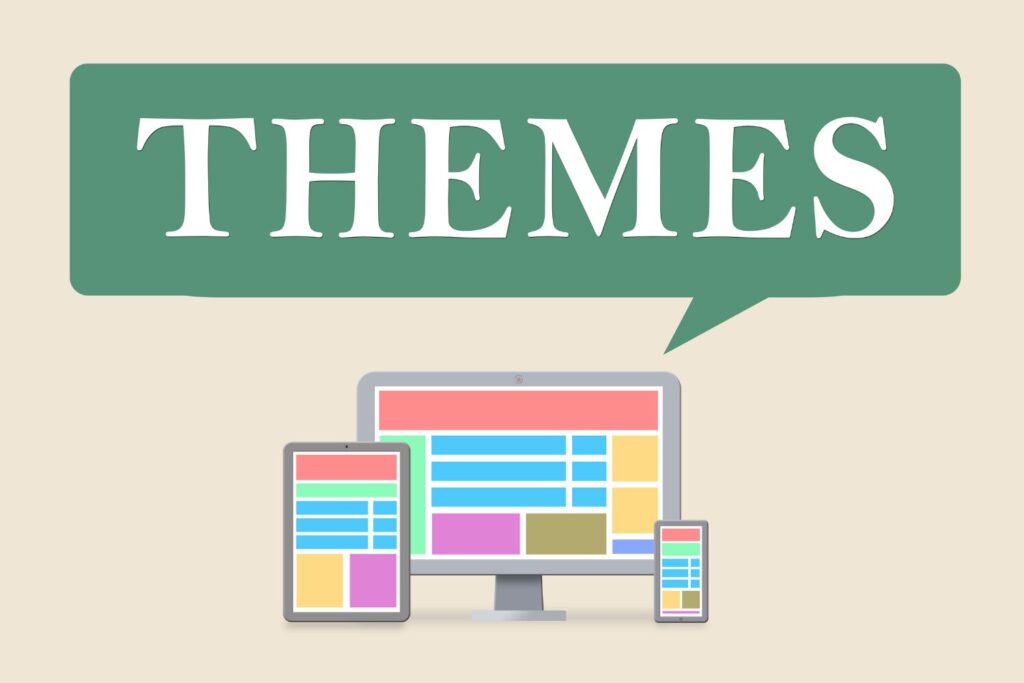
2. Installing WordPress and Building a Theme
Once you purchase your domain and hosting, you need to connect your hosting account to WordPress. The best way to do this would be to:
- Login to your hosting account
- Go to cPanel
- Navigate to ‘Websites’
- Click on ‘Manage websites’
- Find the domain you want to manage and click ‘manage’
- Click install WordPress
Now that you are ready on WordPress, you can build a theme. You can find themes on WordPress and Themeforest.
If you choose a theme from Themeforest, you should:
- Download the theme from Themeforest and convert it into a zip file
- Log in to WordPress and go to the left panel, select ‘appearance’ and ‘theme’
- Click on ‘add new’ and then upload the theme
- Select ‘upload theme’
- Select the folder containing the zip file of your theme
- Select ‘install’, followed by activate
If you choose a theme from WordPress:
- Log in to WordPress and go to the left panel, select ‘Appearance’ then ‘Theme’
- Choose a theme from the existing options
- Select the theme and click ‘install’
- Once installed you need to click on ‘Activate’
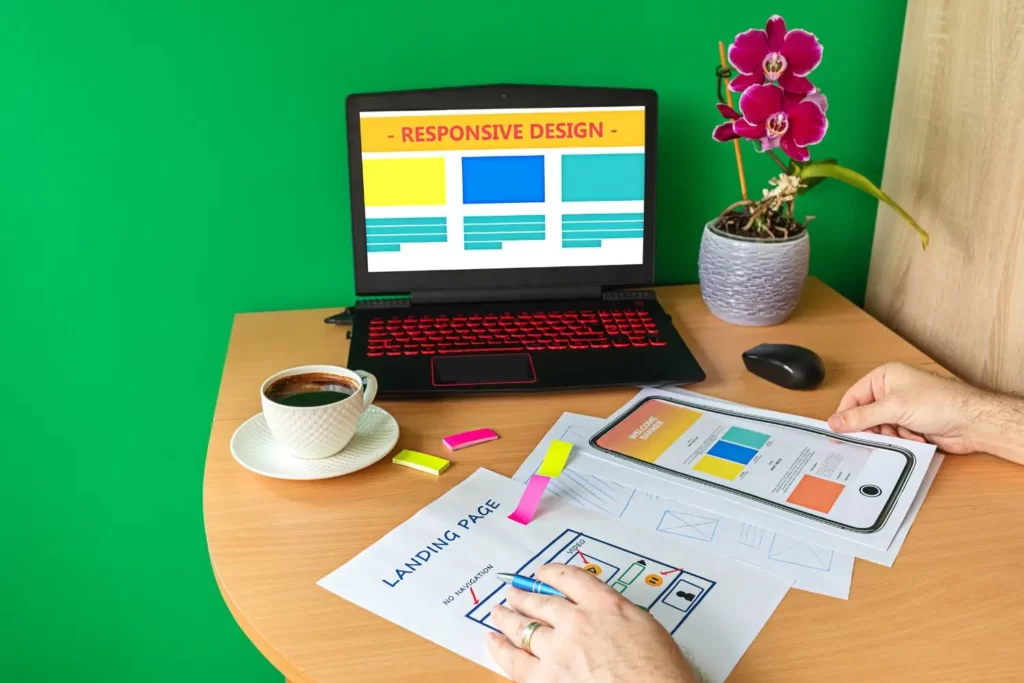
3. Customize Your Theme
Now that you have a website and a theme, you must begin customizing your website’s appearance. The best way to do this would be to go to the left panel on your WordPress dashboard, click on ‘Appearance’ and then ‘Customize’.
Now there are many ways to customize a theme. Another common method would be to use a plugin:
Customizing Through a Plugin
- Go to ‘plugins’ and ‘add new’
- Search for ‘page builder’
- Elementor is one of the most popular and user-friendly page builders you can use for your website.
- Click ‘install now’. Then go to your website page, click edit and a bar will appear on the left, allowing you to edit every section
As you customize the theme, you can edit the content, colour palettes and buttons. Remember that pre-designed themes have limitations when it comes to the degree of customization they allow. So, pick wisely and check if the themes are customizable and compatible with Elementor before downloading them.
4. Installing Essential Plugins
Plugins make website tasks much easier. Since WordPress has been customized for all website types (dynamic, static, e-commerce, corporate etc) they have pre-made plugins that will make tracking, monitoring and content SEO a breeze.
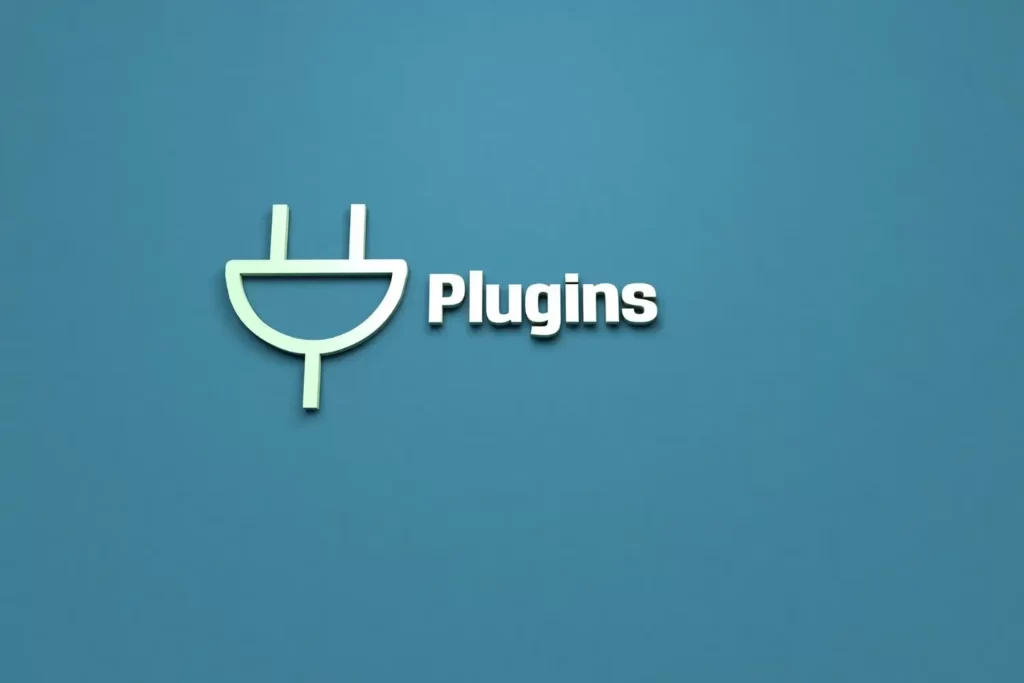
Here are some plugins that we feel are essential for your website:
- Yoast SEO: Yoast SEO plugin provides you with prompts for your page content and the option to work on meta tags and descriptions to improve your online presence.
- Google SiteKit: With Google SiteKit, you get insight into customer behavior which you can later use to improve your front-end design.

- Jetpack: Here’s your go to plugin for security, maintenance and overall performance improvements.
- Elementor: As mentioned above, this plugin is the ultimate solution for website customization where the website builder can completely bypass a coding and CSS background and directly work on building a website.
- WP Forms: If you want to build email contacts, WP Forms may be really handy. It is an easy to use contact form that allows you to store and re-use customer data.
- Akismet: You must prioritize customer safety over everything else. Akismet is a spam protection software that screens comments on blogs and maintains brand authenticity.
You can install plugins by going to the left-hand panel, selecting ‘plugins’ and ‘add new’ then using the search bar to find the plugin of your choice.
5. Demo Content
Demo content provides a frame and structure to your website. Without it, it is very difficult to get a sense of how your website will look once it is designed. To import demo content you must:
- Click on ‘Reveal’ and ‘Import Demo Content’
- Click on ‘Demo Import’
- Import your content
Although uploading demo content is completely optional, it will simplify the entire design process.
6. Brand Your Website

Now that the foundation of your website is ready, you can go on to converting your website into your brand identity. Here are some things you can do to build your brand on WordPress:
- Add Your Logo: Go to ‘Appearance’ then ‘customize’, ‘Change logo’ and ‘Upload your logo’. Make sure your logo is in a high-quality PNG format so that it does not pixelate on the front end.
- Site Title: Go to ‘Settings’, then ‘Title’ and ‘Site Title’ (which should ideally be your brand name). Your site title will appear on the header of the website. The exact location of the site title depends heavily on the website theme.
- Site Tagline: Go to ‘Settings’, and ‘General’ and fill in the site tagline. A site tagline is a short brand description which may show up when you share URLs or social media links. Having a tagline is crucial for SEO health.
- Site Icon: To customize site icons you must go to ‘Appearance’, ‘Customize’ and find ‘Site Icon’, go to ‘Change Image’ and add the favicons you wish to represent here.
- Homepage: Homepage customization will allow you to select the page you want shown as your homepage. Go to ‘Appearance’ and ‘customize’, then go to ‘homepage settings’ and select the page you want shown as your homepage
- Blog: You must repeat the same process as above and select the page you want represented as your blog.
- Permalink: Permalink decides the link format for all your pages. Go to ‘settings’ and ‘permalink’. Choose from the range of formats given to you.
7. Create Website Pages
Now your website is ready for new pages. You can go to ‘Pages’ on the left hand panel and click on ‘Add new’. These pages will appear on your navigation bar or your drop down menu. Remember that a blog post is not considered a page and it should be added in the ‘post’ section. Website pages pertain to company pages.
If you have added a page via a page builder plugin you should go to the top section, click on edit or ‘edit with Elementor’. Repeat this process until you have all the pages you need.
8. Website Menu
Good websites allow customers to navigate through them in the least number of clicks. Having a footer menu is very handy in this case. Customers can easily browse through your website and check for additional information on the footer.
To build the website menu you must:
- Go to ‘Appearance’ and ‘Menus’
- Select the pages you want shown from the list on the left side
- Click and hold to re-order pages based on their importance
- Save changes
9. Market Your Website

What is the point of a good website if it does not reach its ideal audience? When you are happy with your website you should share it on places like the Google Search Console to inform them of your existence. This will speed up the reviewing process and increase your chances of appearing on search engines.
You must also create social media accounts and blog posts (go to ‘posts’, ‘add new’, select a new template and create). This will increase your chances of visibility and finding your ideal audience.
Other ways to increase online presence is by:
- Adding your website to respective directories (eg. justdial, tripadvisor etc)
- Adding your website on your business card
- Creating a Google Business Profile for your website if you have a local business
Conclusion
Since WordPress is the most popular website-building platform it has a quicker learning curve. We wish you all the best with your WordPress website. But hey! The process can be daunting and you don’t have to do it on your own. Choose Netlynx Inc. if you want to outsource the whole website development process and focus completely on what you are best at – your products and services.