Categories
Uncategorized WordPress

Freelance vs. Agency: Which WordPress Developer Should You Hire?

Welcome to our blog! If you’re feeling confused, don’t worry—by the end of this post, you’ll have clear answers to all your questions. WordPress is thriving right now because it allows you to create your own website with ease. However, if you’re not familiar with how WordPress works and need to customize your website, hiring a skilled WordPress Developer, whether a freelancer or a WordPress website development company, is the best way to go. Let’s dive in to help you make the right choice!

Notably, 85% people in the world around us today are using website development for their business purposes. Due to this, most of the companies have given high priority to WordPress. Hence, job opportunities for WordPress developer have been steadily increasing over the past few years.

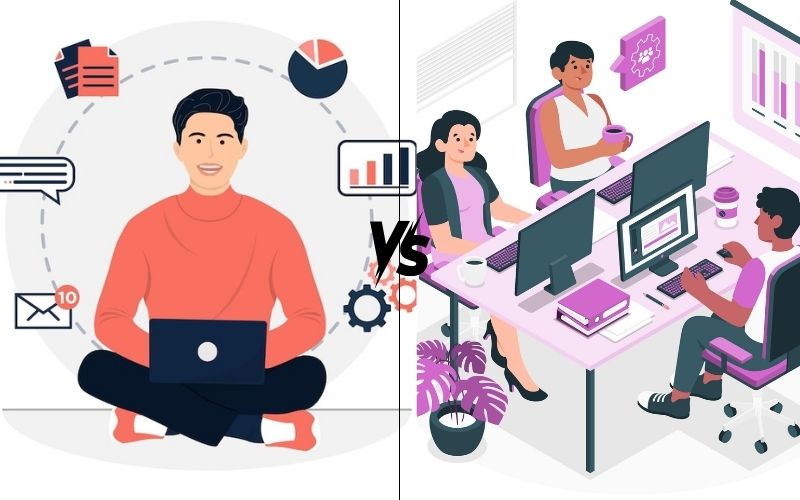
In practice, choosing a freelancer and a WordPress development agency for your website development project is a bit difficult as both have advantages and disadvantages. It should depend on your project requirements and goals, you can choose which one is suitable for your project but you have no idea to find the right one, don’t worry read this whole blog finally you will get a good answer.

Understanding Your Project Needs

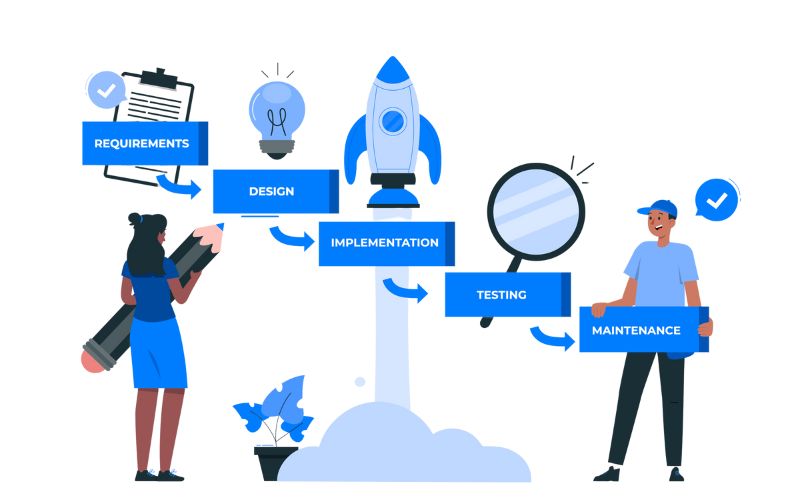
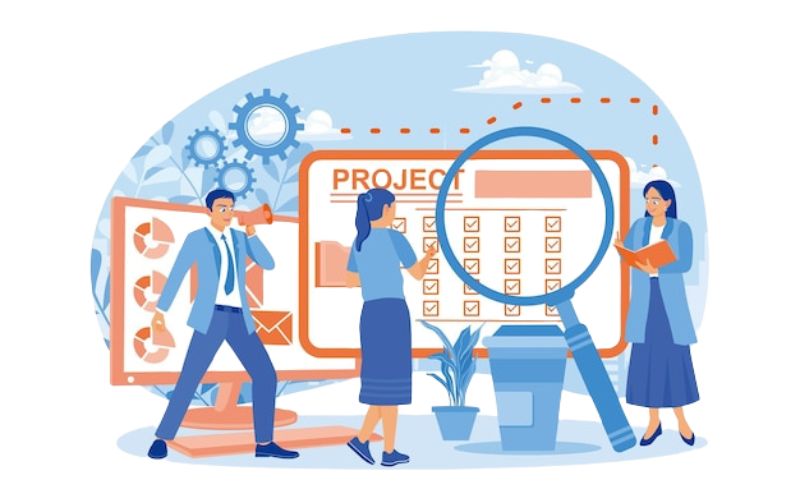
In truth, before starting your hiring process, you should first understand your WordPress website plans. At that time you will understand your needs and plans carefully and after that you can freely choose which one is right or fits your project needs then you can hire a freelancer or WordPress development company. Below are important things you should consider.

  1. Project Scope and Complexity
  2. Project Requirements
  3. Budget Constraints
  4. Project timelines
  5. Long-Term Support

Advantages of Hiring a Freelancer for WordPress Development

Now most importantly, let’s take a deeper look at the benefits of hiring a freelancer for WordPress development, which will 100% surely help you find someone.

1. Flexibility and Cost-effectiveness

WordPress Developer

One of the best advantages of freelancers over WordPress development agencies is flexibility according to your project’s deadlines and requirements. So here we can save a lot of money and time and freelancers will work in specific time, you can pay only for that time work, so first you need to understand the timeline of the project. This is a big advantage for you to hire freelancers.

2. Immediate Contact and Rapid Delivery

Hiring a freelancer for WordPress development enables direct communication then ensures clarity throughout your WordPress project. You can contact any time because they will only do your work, they will do another project only when they complete your project, so they will focus only on your work, so that they can deliver results immediately and they will deliver your project on time.

3. Specialized Knowledge and Skills

Unlike a WordPress website development service provider, a freelance WordPress developer usually specializes in specific areas of web development. This includes such as custom plugin development, theme customization, or API integration. Their focused expertise allows them to offer customization solutions not readily available within the wide range of services agencies offer.

Disadvantages of Hiring a Freelancer for WordPress Development

Now, are you ready to take a look at the disadvantages of hiring a freelancer for your WordPress development needs?

1. Limited Availability

A significant drawback of hiring a freelance WordPress developer is their limited availability and ability, especially for larger projects. Freelancers often work alone and may have commitments to multiple clients or projects. As a result— their availability may be limited to dedicating significant time and resources to your project, leading to delays in project timelines.

2. Trustworthiness Issues

WordPress development

Since freelancers work independently, there is a risk of conflict in their availability and communication. Accountability for project milestones and deadlines can be problematic, especially if they juggle multiple projects at once. Also, without a team to fall back on, freelancers may face challenges dealing with unexpected issues or ramping up resources to meet project demands.

3. Leaning on Personal Proficiency

Hiring a freelance WordPress developer depends on individual skills and experience and carries potential risks. Unlike agencies with diverse teams then freelancers work alone, potentially exposing clients to the limits of one person’s expertise. Also, any gap in skill set or experience can hinder project progress and quality.

Advantages of Hiring a WordPress Development Agency

Now we are going to look at the benefits of partnering with a WordPress web development agency that we believe you are interested in.

1. Collaborative Efforts and Diverse Talents

Unlike freelancers who work alone, agencies have a collaborative environment where professionals from different fields work together so there is no dearth of speed and talent. It always provides a holistic approach to WordPress development and ensures your project benefits from a variety of perspectives and specialized skills.

2. Proven Project Management Methods

WordPress development

Agencies have well-defined project management processes that help streamline development workflows, so this structured approach increases efficiency, reduces errors—and constantly monitors projects so your project takes care of them with high quality.

3. Assurance of Quality

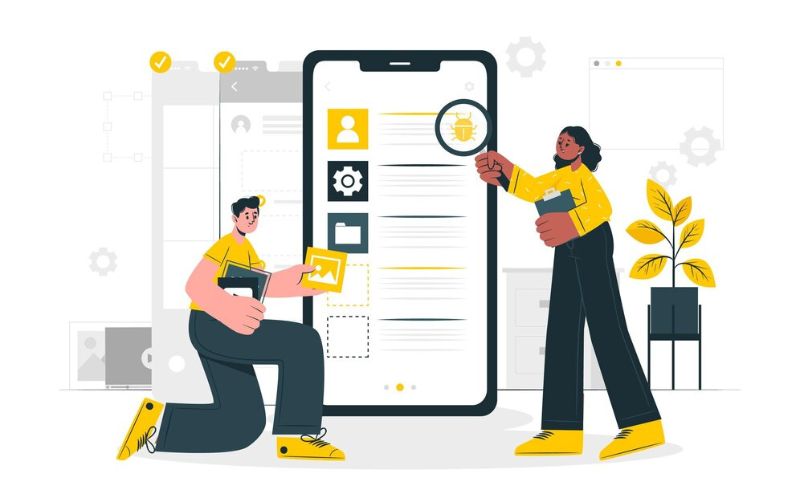
Another advantage of hiring a company for WordPress development is that they always prioritize quality. They use rigorous testing protocols to ensure your WordPress project meets industry and accessibility standards, identify and fix issues before deployment and then they will deliver to you only after your project passes all tests.

Disadvantages of Hiring an Agency for WordPress Development

Now, are you ready to take a look at the disadvantages of hiring a company for your WordPress development needs?

1. Higher expenses compared to freelancers

A common disadvantage of hiring a company for wordpress development is that freelancers are very high because they have a large organization, so office space and some companies have more than 50 workers, they have to look after those people and pay them, so they will charge more money to you.

Here, Netlynx can be your best partner for WordPress development, we can provide cost effective pricing for WordPress development projects with no overheads for office space or administrative costs. For example, if you need custom WordPress design services we are always ready to provide designs as per your budget.

2. Reduced Individualized Focus

WordPress Developer

Another disadvantage of hiring a company for WordPress development is that there is more chance of a less customized approach than working with a freelancer because you have to ask properly about customized design when you hire them and they will say ok at first and eventually not deliver properly. 

Freelancer or Agency: Factors to Consider

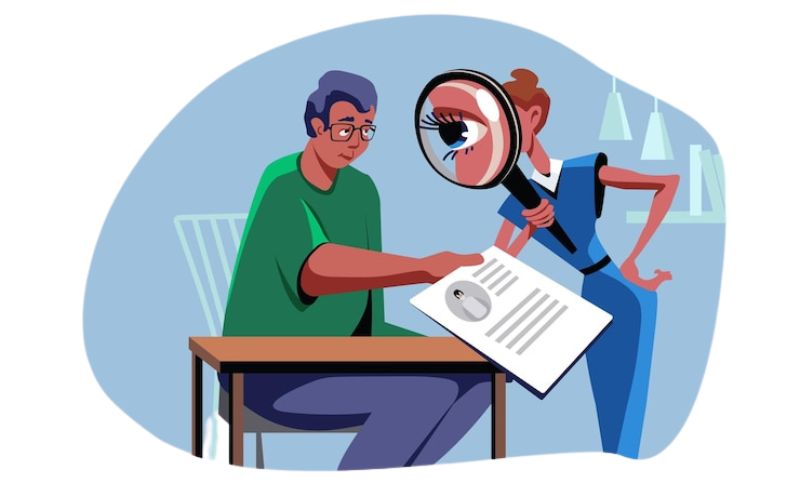
Choosing between hiring a freelancer or an agency for your WordPress project requires careful consideration of various factors which are given below for you to read and benefit from.

  1. Portfolio and Past Client Reviews
  2. Communication Style
  3. Project Management
  4. Project Timeline
  5. Expertise and Specialization
  6. Support and Maintenance
  7. Budget Considerations

Conclusion

Now that we have reached the end stage of the blog, you should consider the complexity of the project, budget constraints, communication options and long-term support and only then can you select the right person. Hence, by keeping this blog post in mind and carefully considering it, you can confidently choose the best option for your development needs, and we hope that our suggestions will always be helpful to you.

Categories
WordPress

3 Best Ways to Design an Effective Call-to-Action for Your WordPress Site

Did you know that the most powerful weapon you have on your WordPress site? the right answer is your call-to-action buttons because it’s the weapon that connects your visitors to your business deal or product purchase, and that’s why it does the most important job. When you are going to develop a new WordPress website and at that time you need to be aware of call-to-action—basically some people don’t care about buttons because they don’t know the value of buttons. See if you are going to approach WordPress website development service providers—you should definitely ask the details and questions related to the call-to-action.

But adding a “click here” button to your WordPress website isn’t enough—if you want to see results, you need to take some time and think about creating the right call-to-action. We give you 3 best ways to create an effective call to action for your WordPress site, so read carefully, every point is worth it.

1. Strategic Placement and Visibility

Strategic Placement and Visibility

The placement of your CTAs is critical. Users should be able to find them quickly without having to search, which means they should be placed where users would naturally see them. Here are some strategies to ensure your CTAs are strategically placed and highly visible.

Above the Fold

Place your primary CTA above the fold, the part of the web page visible without scrolling. This placement ensures that visitors see the CTA immediately upon landing on your site. For example, if you’re running an e-commerce site, a “Shop Now” button should be prominently displayed on the home page.

End of Blog Posts

Place your primary CTA above the fold, the part of the web page visible without scrolling. This placement ensures that visitors see the CTA immediately upon landing on your site. Going to see one example—if you’re running an e-commerce site, a “Shop Now” button should be prominently displayed on the home page.

In the Navigation Menu

By incorporating a CTA into your site’s navigation menu, users can easily find it as they explore different pages. Next we see one example—a “Get Quote” button in the menu will constantly remind users of the action they can take.

2. Compelling Design and Copy

A CTA must stand out visually and must have compelling copy to motivate users to act, only then they can reach you easily so don’t forget to do this. Read and learn on for some tips to ensure your CDAs are visually appealing and persuasive.

Use Contrasting Colors

Your CTA should be in a color that contrasts with the rest of your page, but fits into your overall color scheme so you can choose a color that appeals to you. This variation draws attention and makes the button stand out, by having a button unique, it looks different so there are more opportunities for customers to focus on it. Ok we will see one example then you can understand very easily, if your site’s primary colors are blue and white, a bright orange or green CTA button will catch the eye, so be careful when choosing a color.

Make it Big and Bold

You should know that the size of your CTA is important. It should be large enough to be noticed but not so large that it overwhelms the page and on a site it should be uniquely and specifically capable of touching customers. Then most importantly you should use bold fonts for CTA text to ensure readability and impact, customers should be easy to understand.

Clear and Action-Oriented Text

The text in your CTA should be concise and action-oriented and should be easy to understand and engaging for the viewer. First, we are going to see some examples—then you can easily understand “Buy Now,” “Connect with Us,” “Get a Free Guide” or “Start Free Trial.” Use those verbs that encourage immediate action. The main thing is that the sentence you use must match the content above. Actually users need to know what happens when they click the buttons and it should be linked to your store or any other information.

Incorporate Urgency and Value

Incorporate Urgency

Actually adding a sense of urgency can motivate users to act quickly. The content you use should be very attractive and unique like using catchy short words—if any discount is new on your service you should create content highlighting the announcement. Phrases like “limited time offer” or “only a few spots available” can create fear of missing out (FOMO) which is sure to attract visitors. Additionally, you should highlight the value or benefit users will receive. For example, “Get your free e-book now” emphasizes the value the user receives (the free e-book).

3. User-Friendly and Mobile-Optimized

User-Friendly and Mobile-Optimized

Making sure your CTAs are user-friendly and mobile-friendly is very important and we’re going to tell you how to make sure your CTAs perform well on all devices.

Responsive Design

Make sure your CTA buttons are easy to click on mobile devices and check that they are clicked fast. They should be large enough to tap effortlessly and avoid accidental taps and it should be spaced well enough away from other clickable elements and ideally placed exactly where it need to be.

Simplify Forms

If your CTA leads to a form (eg, a signup or contact form), make sure the form is as short and direct as possible. On mobile devices—users are less likely to fill out long forms then you should ask only for essential information to reduce friction.

Sticky CTAs:

On mobile devices—sticky CTAs at the bottom of the screen as users scroll are most effective. This ensures that the CTA is always visible—making it easy for users to take action without having to scroll up again.

Loading Speed

Loading Speed

Be aware that page load speed can significantly affect the performance of your CTAs. Literally, visitors always prioritize time, and if your site is slow, users may leave before they see your CTA so compress images, optimize your browser cache then use a Content Delivery Network (CDN) to improve your site’s performance.

Conclusion 

The final phase of the blog, we hope our blog will definitely help you learn more about the final stage of blogging, the call-to-action. Now you all know that it brings so many benefits and we are very excited to share the important things with you. Actually we provide unique WordPress web design services and we use the best CTA strategies and create unique buttons. If you don’t mind, take a look at our portfolio, which shows our strength in WordPress development.


Categories
WordPress

Choosing the Right Plugins: What Are the Essential Plugins for WordPress Websites?

In the growing world of website development—WordPress stands out as a versatile platform that allows users to easily create stunning websites. Usability is one of the main and very important factors that contribute to the functionality and aesthetics of WordPress websites. Plugins are like digital tools that extend the capabilities of a WordPress site, it is a fact that you should know that it offers a wide range of features and customization options.

Confused about how to choose the right plugins and what a plugin is? Don’t worry. In this blog, we are going to explore the essential plugins every WordPress website should consider—organized into major categories to help you make informed decisions for your site’s needs.

Essential Plugins for WordPress Websites

You may have many confusions in your mind, now is the time to clear them all, we are going to take a detailed look at five major and essential Plugins for WordPress Website development that will be very useful for you, we can see the interest in your eyes now.

You might be thinking right now that you don’t know about WordPress websites even though you know about plugins, but don’t worry you will get the answer eventually.

1. Security Plugins

What is the first word you hear when designing a website? Everyone asks if the website is safe. Because safety is a very important factor in every website development.

Security is one of the top priorities for any website owner and it’s a must-have for everyone as everyone looks forward to keeping their content secure. Installing a reliable security plugin helps protect your site from malware, hacking attempts and other online threats and no one else can do anything without our permission so it is a first-class player at the forefront of its work.

Recommended Plugins

  • Wordfence Security—this comprehensive security plugin offers firewall protection, malware scanning, login protection and more.
  • MalCare—is a powerful security plugin for WordPress designed to protect your site from malware and hacking attempts.
  • Sucuri Security—offers features such as malware scanning, security hardening, file integrity monitoring and firewall protection.

2. SEO Plugins

Plugins for WordPress Websites

We know that Search Engine Optimization (SEO) plays an important role in driving organic traffic to your website otherwise, your website will only be known by you so it is very important, don’t you know? No problem, now you can know. SEO plugins help you optimize your content for search engines and improve your website visibility. Only then you can increase the visibility of your website and attract more customers very easily.

Recommended Plugins

  • Yoast SEO—With features like keyword optimization, content analysis, and XML sitemap generation, Yoast SEO is a popular choice among website owners.
  • SEOPress—provides actionable insights and recommendations to help improve your website’s SEO, making it an essential tool for WordPress users to improve their online visibility.
  • WP Meta SEO—offers many features that help you manage meta titles, descriptions, keywords and other SEO elements directly from your WordPress dashboard.

3. Performance Optimization Plugins

Plugins for WordPress Websites

“Speed is very important for work Your website speed will indicate the speed of your work” Your visitors will think your work is as good as your website.

A fast loading website is essential for a positive user experience and better search engine ranking and only if the website is fast will the visitors be hassle free. Performance optimization plugins can help speed up your site by optimizing caching, optimizing images, and more. Performance optimization plugins can help speed up your site by optimizing cache, optimizing images then making your website perform faster and attract visitors more easily.

Recommended Plugins

  • WP Rocket—Known for its user-friendly interface and powerful caching features, WP Rocket can significantly improve your website loading time.
  • NitroPack—offers a suite of tools including caching, image optimization, code minification, and a global content delivery network (CDN).
  • Perfmatters—is a lightweight performance optimization plugin for WordPress that speeds up your website by disabling unnecessary features and scripts.

4. Backup Plugins

Regular backups are important to protect your website data in case of unexpected events like server outages or hacking incidents only then you will be able to recover the data otherwise you will have nothing. Backup plugins automate the backup process and ensure your website data is safe.

Recommended Plugins

  • UpdraftPlus—A popular choice for backup solutions, UpdraftPlus allows you to schedule backups, store them in the cloud, and easily restore your site.
  • Solid Backups—supports secure storage options, including cloud services like Google Drive, Dropbox and Amazon S3, ensuring your backups are safely stored offsite
  • BlogVault—provides automated daily backups, real-time backups for WooCommerce sites and easy one-click restores.

5. Contact Form Plugins

Plugins for WordPress Websites

You should know that contact forms are essential to encourage audience engagement and communication. Contact form plugins make it easy to create customized forms tailored to your site’s needs so you can take your online business to the next level.

Recommended Plugins

  • WPForms – With a drag-and-drop form builder and pre-built templates, WPForms is an intuitive plugin for creating beautiful contact forms.
  • Formidable Forms—includes features like conditional logic, multi-page forms, file uploads, and integration with popular services like PayPal, MailChimp, and WooCommerce.
  • Ninja Forms—allows you to create contact forms, subscription forms, order forms and more according to your needs.

Conclusion

Now that we have covered the five essential plugins in detail, do you remember that one question asked above? You don’t know much about WordPress websites right, but you want a WordPress website? Instantly turn to WordPress web design services and you will get a solution for everything you think of.

Netlynx is designing and providing WordPress websites using all the Essential Plugins mentioned above. That is why we are the best WordPress web design company. Whether you need to build a WordPress website or are confused, take a look at our portfolio and you will get clarity.

Categories
WordPress

Build A WordPress Website in 9 Easy Steps

Knowing how to build a website is no longer a bonus skill, it is a necessity. WordPress is one of the most popular website development platforms used worldwide. Around 45.8% of all websites are made on WordPress. It has a simple learning curve, which may be why smaller companies are choosing WordPress with an in-house developer. If you are starting on your WordPress journey, fear not, in this article we will teach you how to build a WordPress website in 9 easy steps.

9 Steps to Building The Perfect WordPress Website

It may seem daunting to work on a new WordPress website but with these 9 easy steps, you can create a checklist for the ultimate dream website on your side.

1. Web Hosting and Domain Name

Web Hosting and Domain Name

What is a brand without a brand name? The domain name should be your brand name. Hence if you are starting a brand by building a website, you should start by picking out a name and checking if is is available. After all, the last thing you’d want to do is create a logo for a brand or a domain name that’s already taken!

There are many websites available for checking and purchasing domain names – GoDaddy, and Google Domains are amongst the most popular ones.

A good rule of thumb would be to pick a name that is:

  • Easy to remember
  • Short
  • Is available in .com (although other options are also becoming competitive)
  • Can be replicated (either into a logo, or for other brand collaterals)

Once you have a name, you should purchase the domain before anyone else. Domains are selling out as we speak, so you must act fast.

Domains and hosting come hand in hand. You can either go ahead with a web hosting service that provides free domains or you can purchase a domain and manually connect it with a web hosting service.

2. Installing WordPress and Building a Theme

Once you purchase your domain and hosting, you need to connect your hosting account to WordPress. The best way to do this would be to:

  • Login to your hosting account
  • Go to cPanel
  • Navigate to ‘Websites’
  • Click on ‘Manage websites’
  • Find the domain you want to manage and click ‘manage’
  • Click install WordPress

Now that you are ready on WordPress, you can build a theme. You can find themes on WordPress and Themeforest.

If you choose a theme from Themeforest, you should:

  • Download the theme from Themeforest and convert it into a zip file
  • Log in to WordPress and go to the left panel, select ‘appearance’ and ‘theme’
  • Click on ‘add new’ and then upload the theme
  • Select ‘upload theme’
  • Select the folder containing the zip file of your theme
  • Select ‘install’, followed by activate

If you choose a theme from WordPress:

  • Log in to WordPress and go to the left panel, select ‘Appearance’ then ‘Theme’
  • Choose a theme from the existing options
  • Select the theme and click ‘install’
  • Once installed you need to click on ‘Activate’

3. Customize Your Theme

Customize Your Theme

Now that you have a website and a theme, you must begin customizing your website’s appearance. The best way to do this would be to go to the left panel on your WordPress dashboard, click on ‘Appearance’ and then ‘Customize’.

Now there are many ways to customize a theme. Another common method would be to use a plugin:

Customizing Through a Plugin

  • Go to ‘plugins’ and ‘add new’
  • Search for ‘page builder’
  • Elementor is one of the most popular and user-friendly page builders you can use for your website. 
  • Click ‘install now’. Then go to your website page, click edit and a bar will appear on the left, allowing you to edit every section

As you customize the theme, you can edit the content, colour palettes and buttons. Remember that pre-designed themes have limitations when it comes to the degree of customization they allow. So, pick wisely and check if the themes are customizable and compatible with Elementor before downloading them.

4. Installing Essential Plugins

Plugins make website tasks much easier. Since WordPress has been customized for all website types (dynamic, static, e-commerce, corporate etc) they have pre-made plugins that will make tracking, monitoring and content SEO a breeze.

Installing Essential Plugins

Here are some plugins that we feel are essential for your website:

  • Yoast SEO: Yoast SEO plugin provides you with prompts for your page content and the option to work on meta tags and descriptions to improve your online presence.
yoast seo
  • Google SiteKit: With Google SiteKit, you get insight into customer behavior which you can later use to improve your front-end design.
google sitkit
  • Jetpack: Here’s your go to plugin for security, maintenance and overall performance improvements.
jetpack
  • Elementor: As mentioned above, this plugin is the ultimate solution for website customization where the website builder can completely bypass a coding and CSS background and directly work on building a website.
elementor
  • WP Forms: If you want to build email contacts, WP Forms may be really handy. It is an easy to use contact form that allows you to store and re-use customer data.
wp-forms
  • Akismet: You must prioritize customer safety over everything else. Akismet is a spam protection software that screens comments on blogs and maintains brand authenticity.
akismet

You can install plugins by going to the left-hand panel, selecting ‘plugins’ and ‘add new’ then using the search bar to find the plugin of your choice.

5. Demo Content

Demo content provides a frame and structure to your website. Without it, it is very difficult to get a sense of how your website will look once it is designed. To import demo content you must: 

  • Click on ‘Reveal’ and ‘Import Demo Content’
  • Click on ‘Demo Import’
  • Import your content

Although uploading demo content is completely optional, it will simplify the entire design process.

6. Brand Your Website

Brand Your Website

Now that the foundation of your website is ready, you can go on to converting your website into your brand identity. Here are some things you can do to build your brand on WordPress:

  • Add Your Logo: Go to ‘Appearance’ then ‘customize’, ‘Change logo’ and ‘Upload your logo’. Make sure your logo is in a high-quality PNG format so that it does not pixelate on the front end.
  • Site Title: Go to ‘Settings’, then ‘Title’ and ‘Site Title’ (which should ideally be your brand name). Your site title will appear on the header of the website. The exact location of the site title depends heavily on the website theme.
  • Site Tagline: Go to ‘Settings’, and ‘General’ and fill in the site tagline. A site tagline is a short brand description which may show up when you share URLs or social media links. Having a tagline is crucial for SEO health.
  • Site Icon: To customize site icons you must go to ‘Appearance’, ‘Customize’ and find ‘Site Icon’, go to ‘Change Image’ and add the favicons you wish to represent here.
  • Homepage: Homepage customization will allow you to select the page you want shown as your homepage. Go to ‘Appearance’ and ‘customize’, then go to ‘homepage settings’ and select the page you want shown as your homepage
  • Blog: You must repeat the same process as above and select the page you want represented as your blog.
  • Permalink: Permalink decides the link format for all your pages. Go to ‘settings’ and ‘permalink’. Choose from the range of formats given to you.

7. Create Website Pages

Create Website Pages

Now your website is ready for new pages. You can go to ‘Pages’ on the left hand panel and click on ‘Add new’. These pages will appear on your navigation bar or your drop down menu. Remember that a blog post is not considered a page and it should be added in the ‘post’ section. Website pages pertain to company pages.

If you have added a page via a page builder plugin you should go to the top section, click on edit or ‘edit with Elementor’. Repeat this process until you have all the pages you need.

8. Website Menu

Good websites allow customers to navigate through them in the least number of clicks. Having a footer menu is very handy in this case. Customers can easily browse through your website and check for additional information on the footer.

To build the website menu you must:

  • Go to ‘Appearance’ and ‘Menus’
  • Select the pages you want shown from the list on the left side
  • Click and hold to re-order pages based on their importance
  • Save changes

9. Market Your Website

Market Your Website

What is the point of a good website if it does not reach its ideal audience? When you are happy with your website you should share it on places like the Google Search Console to inform them of your existence. This will speed up the reviewing process and increase your chances of appearing on search engines.

You must also create social media accounts and blog posts (go to ‘posts’, ‘add new’, select a new template and create). This will increase your chances of visibility and finding your ideal audience.

Other ways to increase online presence is by:

  • Adding your website to respective directories (eg. justdial, tripadvisor etc)
  • Adding your website on your business card
  • Creating a Google Business Profile for your website if you have a local business

Conclusion

Since WordPress is the most popular website-building platform it has a quicker learning curve. We wish you all the best with your WordPress website. But hey! The process can be daunting and you don’t have to do it on your own. Choose Netlynx Inc. if you want to outsource the whole website development process and focus completely on what you are best at – your products and services.